Gen 3 Wall Connector
Tesla Wall Connector Installation in Centennial
The Wall Connector is a good piece of hardware, and it rewards a correctly sized circuit. We mount, wire and commission Gen 3 units for homeowners from Cherry Knolls to Piney Creek and out along South Parker Road. Breaker sizing, firmware and Wi-Fi are all handled before we pack up.
Behind the Bracket
Mounting Is the Easy Part
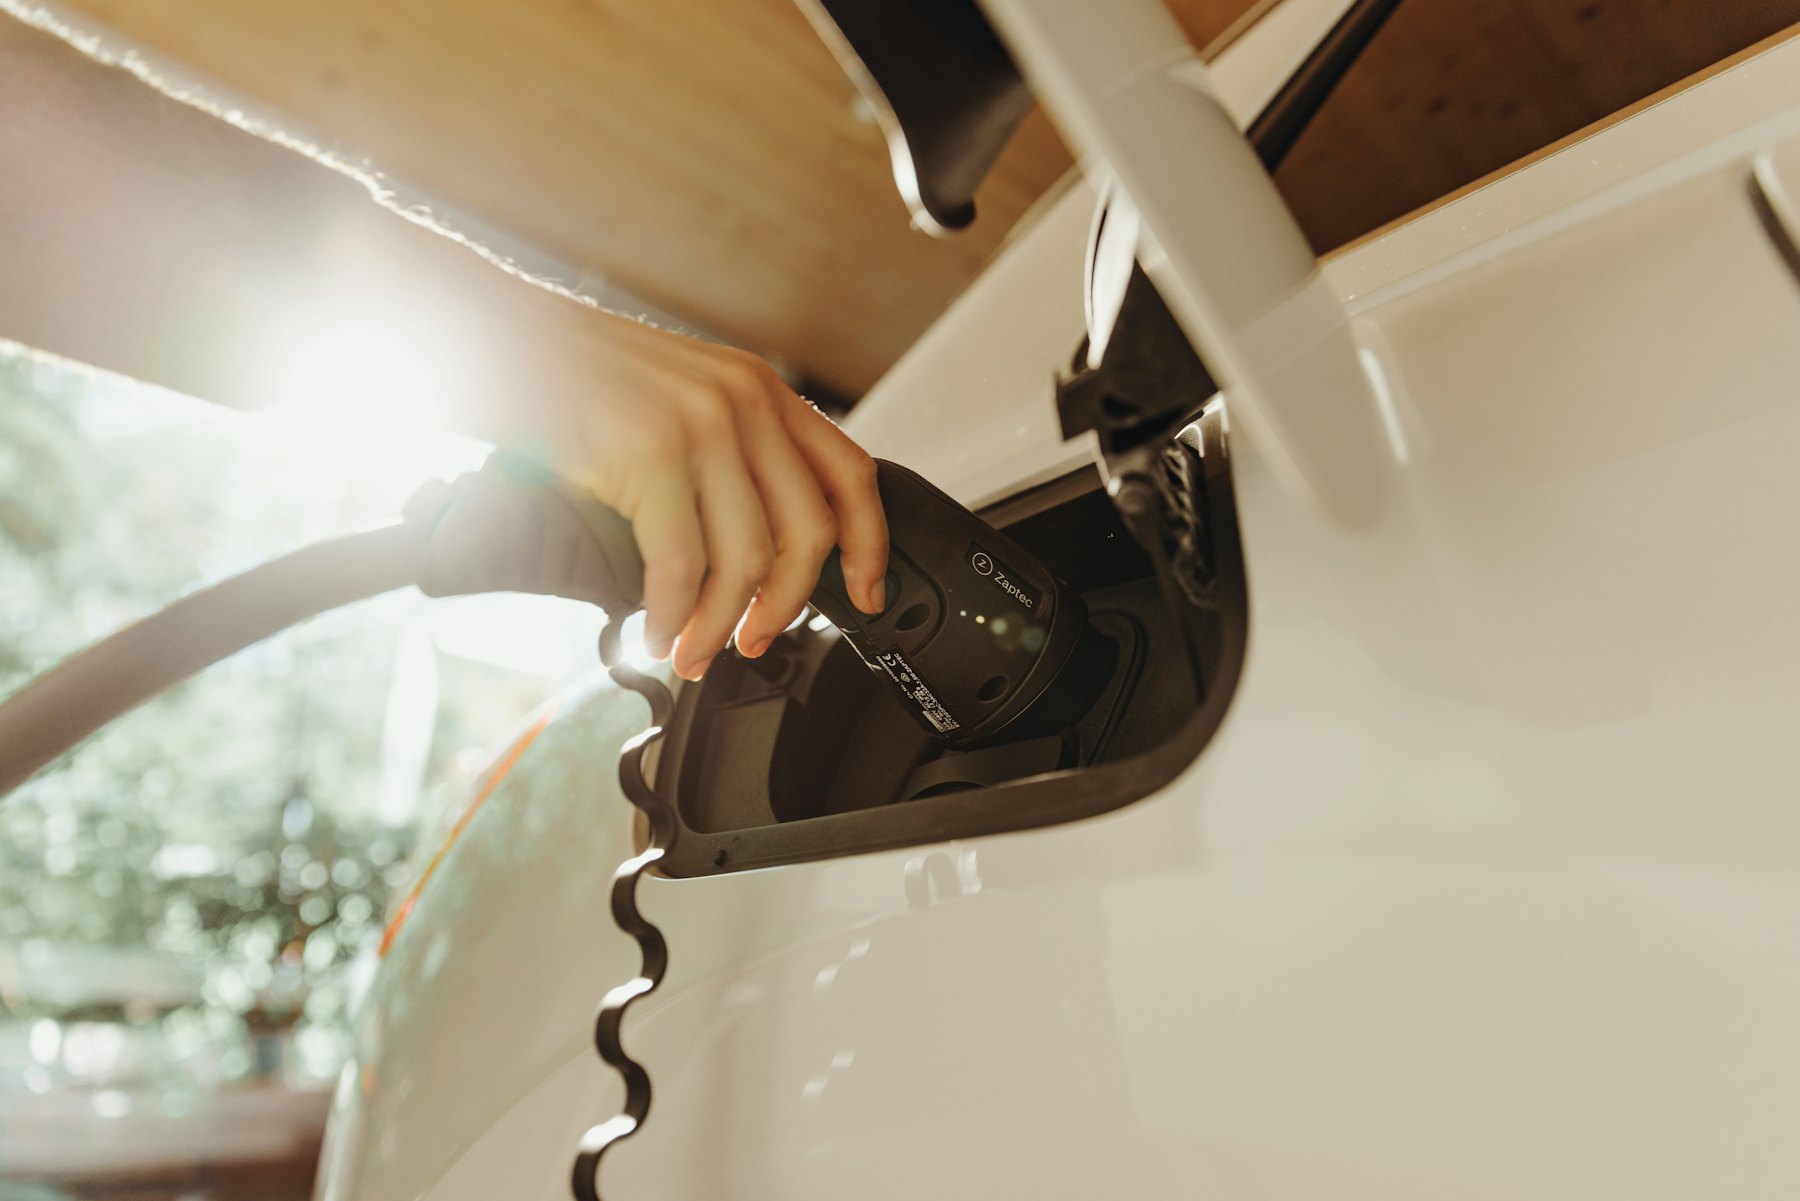
Plenty of people assume a Wall Connector is a weekend bracket job. The bracket takes minutes. The circuit behind it is the real work, because the Gen 3 unit is amperage-configurable and the setting has to match the breaker, the conductors and what your service can actually carry. Centennial EV Charger Installation does Tesla Wall Connector installation as a full electrical scope: panel read, load check, correctly sized dedicated circuit, hardwired termination, then Wi-Fi commissioning and a firmware check before we leave. Homeowners usually call us right after delivery, or when a previous install was set to an amperage the panel cannot sustain and the breaker keeps opening. Either way, the visit starts at the panel.
The Full Scope of a Wall Connector Install
Tesla's unit has specific requirements for breaker sizing, grounding and commissioning. Every one of these is part of the job.
Service walk and capacity look
We open the panel, read the main and bus ratings, and count available spaces before committing to an amperage setting. A 100 amp service in an older Walnut Hills home supports a different configuration than a 200 amp panel in a newer Dove Valley build.
Breaker sizing matched to the configured amperage
The Gen 3 unit is set in the field to a specific output, and the breaker and conductors must be sized to that setting at 125 percent of continuous load. We set both to agree, which is what keeps a breaker from nuisance tripping on a long overnight session.
Hardwired termination
Tesla's unit is designed to be hardwired, and that is how we install it, with conductors landed directly at the terminal block to the listed torque. No adapter plug, no shared receptacle.
Conduit or cable routing
We route the circuit from the panel to the mounting location through finished walls, joist bays or surface conduit depending on the structure, keeping the run supported and protected where it crosses a garage wall at bumper height.
Grounding and bonding verification
The equipment ground is confirmed back to the panel, and the system bonding is checked rather than assumed, because a Wall Connector reports fault conditions it cannot clear on a compromised ground path.
Mounting at a working height
The unit is anchored into framing or masonry so the cable reaches the charge port without stretch or slack on the floor, with the handle holstered clear of a car door swing.
Wi-Fi commissioning and firmware check
We connect the unit to your home network through Tesla's commissioning interface, confirm it reports in, and verify the firmware is current so you get the scheduling and monitoring features you paid for.
Power sharing setup for multiple units
Two Teslas in one garage can share a single circuit through the unit's power sharing feature. We configure the group so the pair split available current instead of overloading the feeder.
Permit, inspection and rebate paperwork
The permit is filed, the inspection is carried, and we assemble the equipment and permit documentation your utility rebate and federal tax credit paperwork require. Nothing for you to chase down later.
From First Visit to First Charge
Walk the service and confirm the setting
An electrician reads your panel, runs the load check, and tells you the amperage your Wall Connector can safely be configured to. This is the conversation that decides everything downstream, because a unit dialed to 48 amps on a service that supports 32 is a problem waiting for a cold January evening. You will see the panel open and hear the reasoning. Budget around an hour.
Written price, permit, and a date
We hand you a flat written quote covering the circuit, breaker, mounting, commissioning and the permit. Nothing is left as an allowance. After you approve it we pull the permit with Arapahoe County and slot you in for a window that works around your schedule, which for most Centennial households means a morning before the drive up I-25 or an afternoon after it.
Install, commission, demonstrate
We put the load in, set the charger, land and torque the terminations, and configure the unit's amperage to match the breaker. Then we bring it onto your Wi-Fi, confirm it reports to your Tesla account, and run a live charge session while you watch. You will see the rate climb and we will show you where to set the scheduled charging. Typical installs finish in a half day on an adequate panel.
What Sets Our Wall Connector Work Apart
We configure the unit, not just hang it.
The amperage setting, the firmware, the Wi-Fi registration and the power sharing group are all part of the install, done before we leave. A commissioned unit that reports to your app is the finished product; a mounted box is not.
Certified on Tesla's hardware specifically.
Our installers are EVITP-certified and certified across Tesla alongside ChargePoint, Wallbox and Enphase. We know how the Gen 3 unit behaves on a shared feeder, how it handles a weak Wi-Fi signal at the far end of a detached garage, and what its fault codes are actually telling you.
Older Centennial panels get an honest read.
Many homes around Homestead and Heritage Greens still run their original service, and a 48 amp continuous load is more than some of those will take. We tell you that during the capacity look and price the panel work in the same quote, so there is no mid-job renegotiation.
Set a Date for Your Wall Connector
Tell us which Tesla you drive and roughly where the unit should hang, and we will set a date to walk the service. The panel read and the load check cost you nothing, and the written price that follows covers the circuit, the commissioning and the permit together.
(303) 529-8734